Introduction To Photo Cut-Out Animation Part 2
Last time I imported a bit mapped graphic cartoon into a drawing element using the “import and vectorize” command “with texture” as the vectorization type. Next I copied the first cell and using the copy of that cell, I cut out the character of Friz Freleng. You can review the process by reading Part 1 of Introduction to Photo Cut-Out Animation.
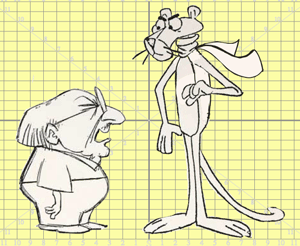
So having prepared the Friz character, I need to do the same for the Pink Panther character. I go back to my original drawing and cut out the Panther. This time I used the cutter tool instead of the scissor tool. It’s a matter of personal preference so you can try either one. In either case I will want to use the contour edit tool to clean up and fine tune the cut out shapes. Here is the rough cut-out of the Panther
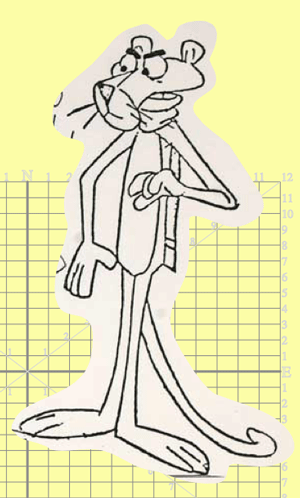
I’m going to cut the Panther into multiple body parts and put each part into a separate drawing element then I’ll rig the character in camera view on the timeline.
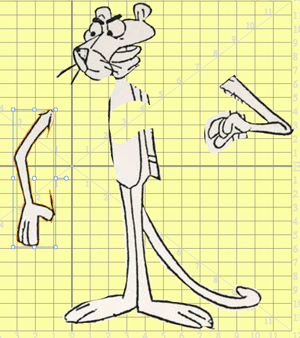
As I cut out the parts of the Panther, I also am using the contour editor, the eraser tool, the paint tool and the brush tool to fix up the parts so that the cut-out character can seamlessly be assembled and animated.
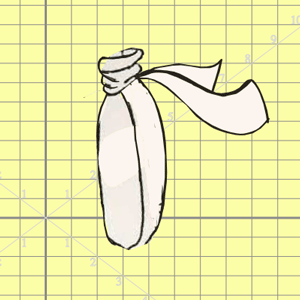
This is the torso with a modified scarf.
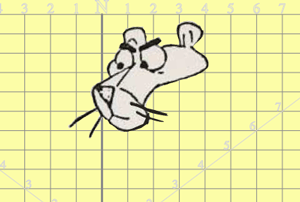
The head
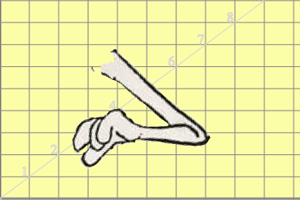
The right arm
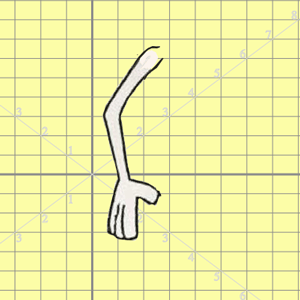
The left arm
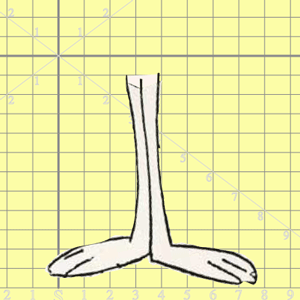
The feet
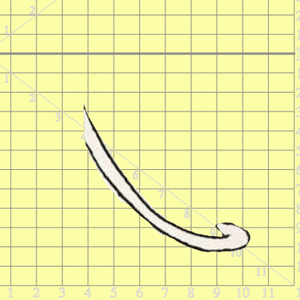
And the tail
Here are the final composited characters in drawing view so now I’m ready to switch to camera view and start rigging them.
I’ll start out by adding a peg element for each character to act as the top level parent in their hierarchy. Then I’ll attach the body parts of each character to their top level parent peg. Next I’ll organize the body parts of the Panther character into two logical groups, one of the upper torso and one for the legs and tail.
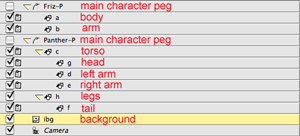
I’m almost ready to begin keyframe animating but first I need to use the scene operations rotation tool to set the rotational pivot point for each body part and for the parent peg elements.
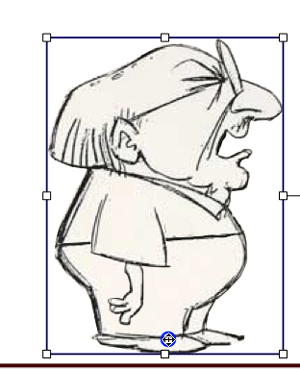
Friz's body rotational pivot point
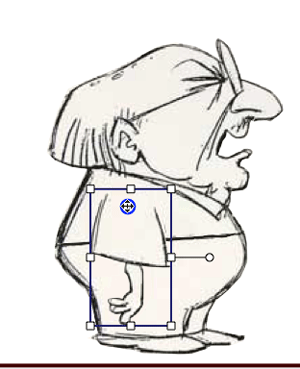
Friz's arm rotational pivot point
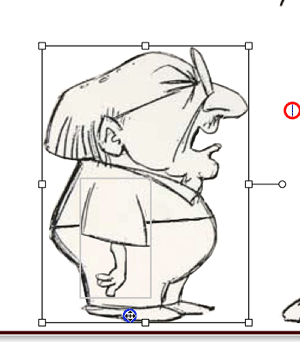
Friz's parent peg rotational pivot point
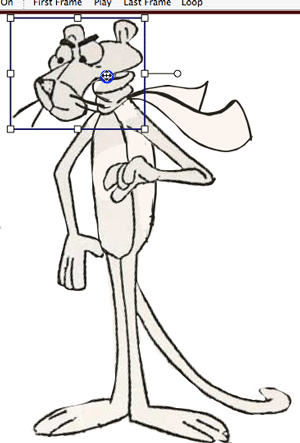
The Panther's head rotational pivot point
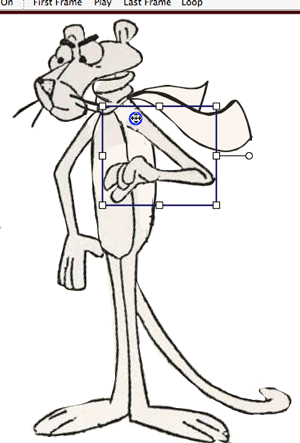
The Panther's right arm rotational pivot point
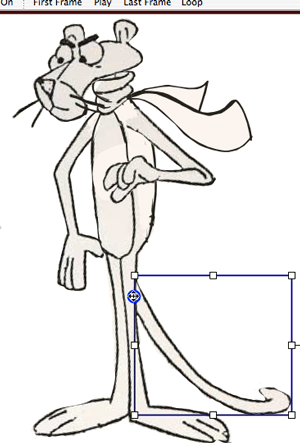
The Panther's tail rotational pivot point
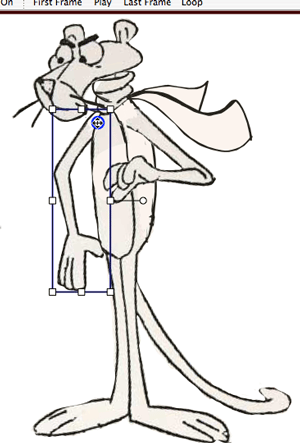
The Panther's left arm rotational pivot point
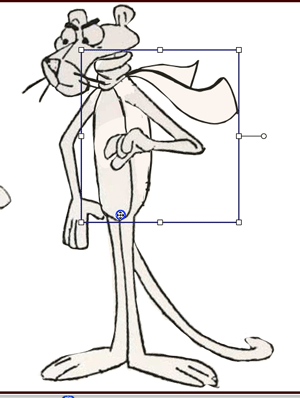
The Panther's torso rotational pivot point
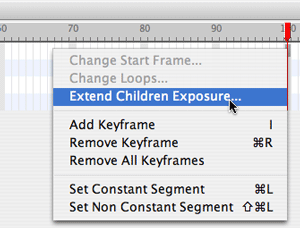
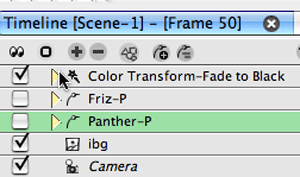
With all the rotational pivot points set, I collapse my two top level parent pegs and using “extend children exposure” a new command that was added in TBS V 4.0, I extend my timeline out to 160 frames for each character parent peg and all its children.
The animating is just straight forward keyframing of the character’s body parts using the scene operations transform tool. I added a bit mapped background in an image element and added a fade to black transition at the end of the animation. If you are not familiar with keyframe animation, I suggest you review my previous series on Key Framed Animation.
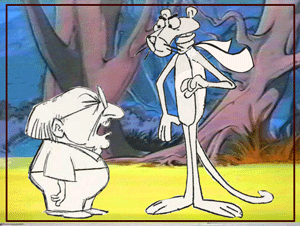
Click here to view the final animation.
If you want to try it yourself, you can find the source cartoon graphic and the background graphic here. Stay tuned for more to come in future tutorials on Photo Cut-out Animation as well as other new features in Toon Boom Studio V4.0. Introduction To Photo Cut-Out Animation Part 3
Labels: Tutorial


3 Comments:
Thank you very much for the time and detail you put into this. It's been a huge help to this fledgling Toon Boomer.
Best,
Eric
I'm always pleased to hear that something that I worked on has been helpful or inspirational. I'll do my best to continue writing for this blog and trying to publish useful articles and tutorials.
Hey there!
Thanks for ur aportation man!
Its very helpful for all those people whos tryng by themselves in the TBS universe...
Thanks!
Post a Comment
<< Home